Introduction
Vinyl can look forgiving, but the surface underneath still has to be ready. Vinyl flooring installation starts with measuring the room, checking the subfloor, and matching the installation method to the product. Vinyl planks may use a floating click-lock system or adhesive, while sheet vinyl is installed in larger sections based on product requirements.
Walls & Builds helps homeowners plan vinyl flooring projects around preparation, flooring type, installation method, and finish details. Poor prep can lead to uneven areas, weak bonds, or rough edges, so a well-planned installation starts before the first piece of flooring goes down.
What Types of Vinyl Flooring Can Be Installed?
Vinyl flooring comes in several forms, and each one requires a different installation approach. Planks, sheets, and peel-and-stick products can work well when the subfloor and installation method match the manufacturer’s instructions.
What Is Vinyl Plank Flooring?
Vinyl plank flooring uses narrow pieces that often mimic wood. Click-lock planks connect to one another and float over the subfloor, while glue-down planks attach directly with an approved adhesive.
Homeowners comparing plank products can also compare laminate as another flooring option before choosing a material.
What Is Vinyl Sheet Flooring?
Vinyl sheet flooring comes in large rolls that can cover many rooms with few seams. Depending on the product, installation may use full-spread adhesive, another approved bonding method, or a qualifying loose-lay system.
Fitting the sheet takes careful measuring because walls, pipes, corners, and doorways all affect the cut.
What Is Peel-and-Stick Vinyl Flooring?
Peel-and-stick vinyl has adhesive already applied to the back. It is commonly used for smaller projects where the surface below is smooth, clean, stable, and suitable for the product.
Poor surface preparation can prevent the adhesive from bonding evenly.
How Do You Prepare for Vinyl Flooring Installation?
Preparation starts with measuring the space and checking what sits beneath the new flooring. The subfloor should meet the chosen product’s requirements before you install planks, sheets, or tiles.
Remove loose or damaged material when needed, clean the surface, and correct uneven areas that fall outside the flooring maker’s tolerance. Check the product instructions for underlayment, moisture protection, room conditions, and acclimation before you start installation.
Do You Need Underlayment Under Vinyl Flooring?
Underlayment requirements depend on the flooring product, subfloor, and installation method. Some floating vinyl floors use an attached pad, while other products call for an approved separate layer or no added underlayment.
Concrete and other subfloors may also have separate moisture requirements. Follow the product instructions instead of automatically adding extra padding.
How Does Vinyl Plank Flooring Installation Work?
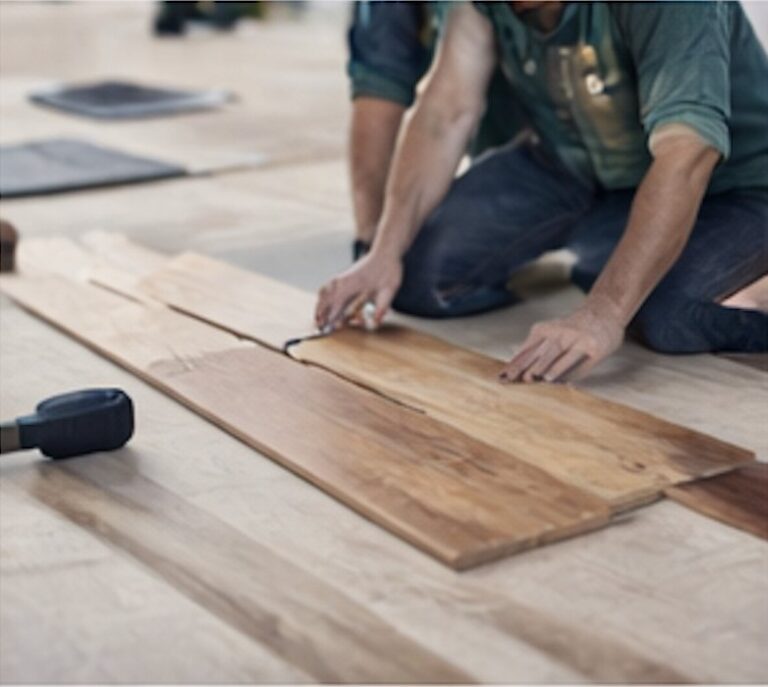
Vinyl plank flooring installation starts with a prepared subfloor and a planned plank layout. Floating and glue-down products follow different instructions, so the steps below describe a typical click-lock floor.
For a broader look at preparation and finish work, review what a complete flooring project can involve.
Step 1: Prepare the Subfloor
Clean the floor and inspect it for damage, movement, high spots, and low areas. Repair any issues before installing the first plank.
Step 2: Plan the Layout
Measure the room and choose the plank direction. Plan the first and last rows so the finished layout avoids awkward narrow pieces along walls.
Step 3: Install the First Row
Install the first row according to the locking system, keeping it aligned. Maintain the perimeter space required by the flooring manufacturer.
Step 4: Cut and Stagger the Planks
Measure each cut carefully and offset plank ends according to the product instructions. Connect the locking edges without forcing or damaging the joints.
Step 5: Finish the Edges and Trim
Cut the final row to fit while maintaining the required perimeter clearance. Baseboards, molding, and transitions then cover finished edges and changes between flooring materials.
How Is Sheet Vinyl Installed?
Sheet vinyl installation requires accurate measuring because a large section of material must fit the room closely. Approved installation methods can vary by product, so follow the flooring maker’s instructions for adhesive use and seam treatment.
Sheet flooring is harder to correct after a poor cut, so planning matters.
Step 1: Measure and Cut the Sheet
Measure the room carefully, including corners, doorways, pipes, and other fixed objects. Leave enough material for controlled final trimming, rather than cutting the sheet too small at the start.
Step 2: Prepare the Subfloor
The surface should be smooth, clean, dry, and suitable for the flooring product. Repair damaged areas and remove anything that could show through the finished vinyl.
Step 3: Apply the Recommended Adhesive
Use adhesive only when the selected flooring system requires it. Match the adhesive, spread method, and application instructions to the specific product.
Step 4: Position and Smooth the Vinyl
Carefully set the material into position and smooth it according to the installation instructions. Adhesive systems may also require the specified flooring roller to create proper contact.
Step 5: Finish the Edges and Seams
Carefully trim the perimeter and finish any seams using the flooring manufacturer’s specified method. Complete the work with suitable transitions and trim.
What Affects Vinyl Flooring Installation Cost?
Vinyl flooring installation cost depends on much more than room size. The flooring type, installation method, subfloor condition, existing material, labor needs, and finish work all affect the final scope.
A written estimate should explain what is included before work begins. Homeowners can also review residential flooring options and preparation work when comparing project needs.
What Can Increase Vinyl Flooring Installation Costs?
Subfloor repair can raise the project cost when damaged sections, high spots, low areas, or moisture concerns need attention first. Removing glued flooring, tile, or other difficult materials can also add demolition and disposal work.
Rooms with angled walls, many doorways, cabinets, closets, or several transitions usually require more cutting and fitting. New trim or baseboards can add another line item to the estimate.
Can You Install Vinyl Flooring Yourself?
A DIY vinyl project is most realistic in a small room with a sound subfloor and a product designed for homeowner installation. Floating click-lock planks can be easier to manage than large sheets or flooring that must be bonded with adhesive.
The work becomes harder when the floor needs repair, several rooms connect, or the layout requires difficult cuts.
When Should You Hire a Professional Installer?
Professional installation can make sense when the subfloor is uneven, the project covers a large area, or the room has several obstacles and transitions. Sheet vinyl and glue-down products also demand careful fitting and product-specific adhesive work.
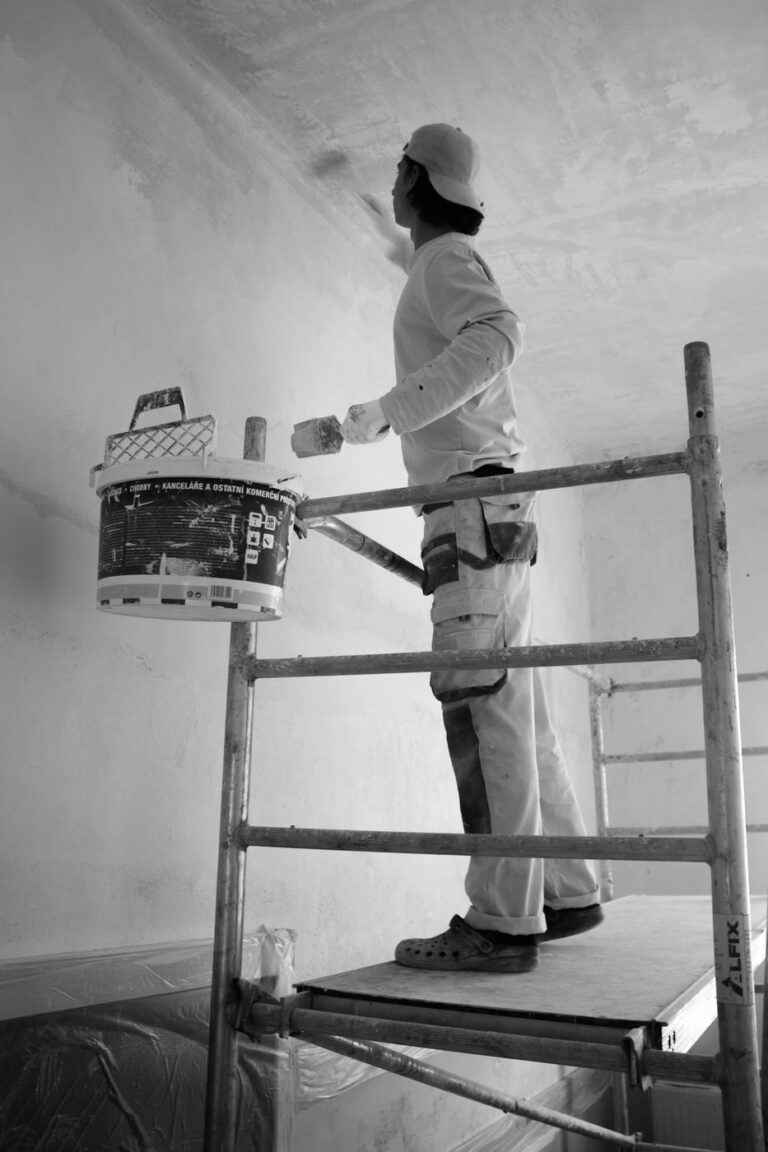
If wall repairs are part of the same renovation, completing needed drywall work before finish details are installed can help keep the project sequence organized.
What Are the Most Common Vinyl Flooring Installation Mistakes?
The most common vinyl flooring installation mistakes usually start with poor preparation or skipped product instructions.
- Installing over a subfloor that does not meet flatness or condition requirements
- Skipping layout planning before the first row or sheet is cut
- Adding underlayment that is not approved for the flooring system
- Ignoring product-specific expansion requirements for floating floors
- Using the wrong adhesive or application method
- Cutting material before measurements have been checked
A small error at the start can affect several rows or waste a large section of sheet vinyl, so careful setup matters.
How to Find Vinyl Flooring Installation Near Me
A vinyl flooring installation near me search should lead to more than a labor price. Look for an installer who explains subfloor preparation, material responsibilities, old-floor removal, disposal, transitions, trim, and cleanup in a written scope.
Ask what happens if hidden subfloor damage appears after the old floor comes up. The estimate should also identify the planned installation method so competing quotes cover comparable work.
Frequently Asked Questions
How much does vinyl flooring installation cost?
Vinyl flooring installation cost depends on square footage, flooring type, labor, subfloor work, old-floor removal, installation method, and finishing details.
Can I install vinyl flooring myself?
A small click-lock vinyl project can suit an experienced DIY homeowner when the subfloor is ready and the room has a simple layout.
What should I put under vinyl flooring before installation?
The right layer under vinyl flooring depends on the product, whether it includes padding, the subfloor, moisture conditions, and the manufacturer’s requirements.
How long does vinyl flooring installation take?
Installation time varies with room size, flooring type, removal work, subfloor repairs, layout complexity, and the installation method.
Is glue-down or floating vinyl flooring better?
The better fit depends on the flooring product, room conditions, subfloor, project size, and installation requirements, not on one method being best for every home.
Get Professional Vinyl Flooring Installation in Los Angeles and Orange County
Walls & Builds provides residential flooring and residential remodeling services across Los Angeles and Orange County. Homeowners looking for a Los Angeles home remodeling contractor can discuss flooring preparation, installation methods, transitions, finish work, and related updates, such as interior painting, planned around a room renovation.
If vinyl flooring is part of the next project, request a flooring estimate and review the space, product, and scope before installation begins.